Chapter 2: Install Proxmox
Step 0 - Introduction
Before we get started its is a good idea to think about what we plan to accomplish. I have outlined the steps we will use in this guide below.
- Step 1 - Download proxmox ISO
- Step 2 - Flash to USB drive
- Step 3 - Install on the PC
- Step 4 - Connect to the Web Console at
http://<ProxmoxIP>:8006
Step 1 - Downloading the Proxmox ISO
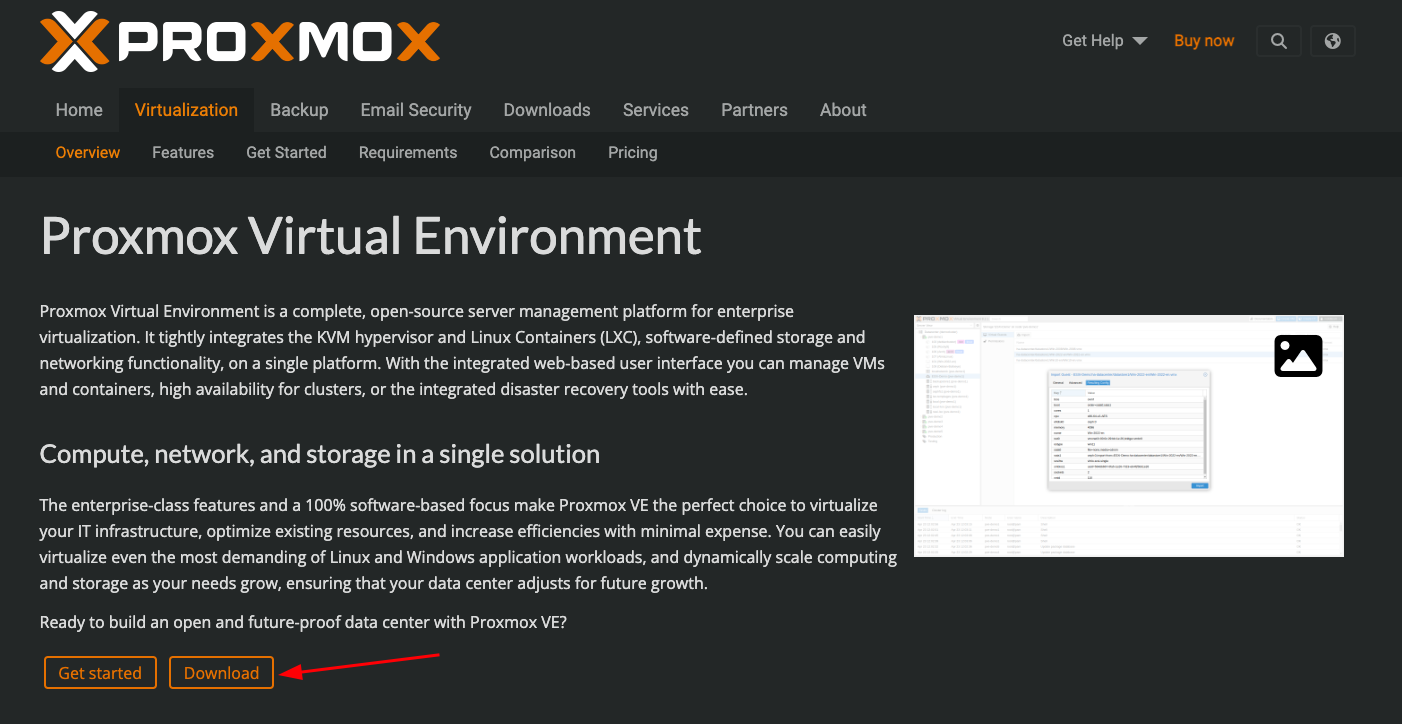
First we want to head over to the Proxmox download page to get the ISO image file. You can use the following link: https://www.proxmox.com/en/proxmox-virtual-environment/overview
Once on the page click the download button to get it rolling.
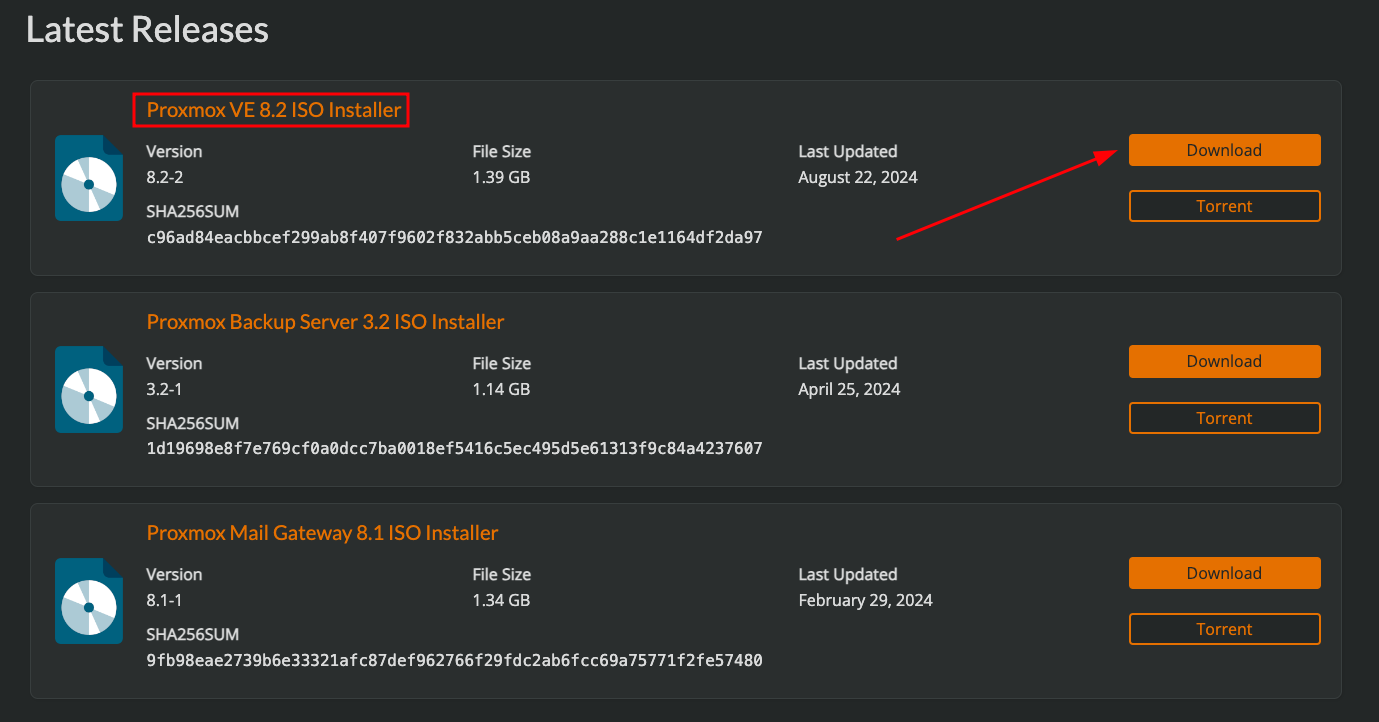
Here we need to make sure we are selecting the “Proxmox VE 8.2 ISO Installer” option and click Download. Wait for the download to finish and head to the next step.
Step 2 - Flashing the ISO to a flash drives
Next we need to load the ISO file into the flash drives so we can install it on our computer. For that I will use Balena Etcher. We can go over to https://etcher.balena.io/#download-etcher to download the app and select the option appropriate for your system. Here you can also use similar tools such as Rufus.
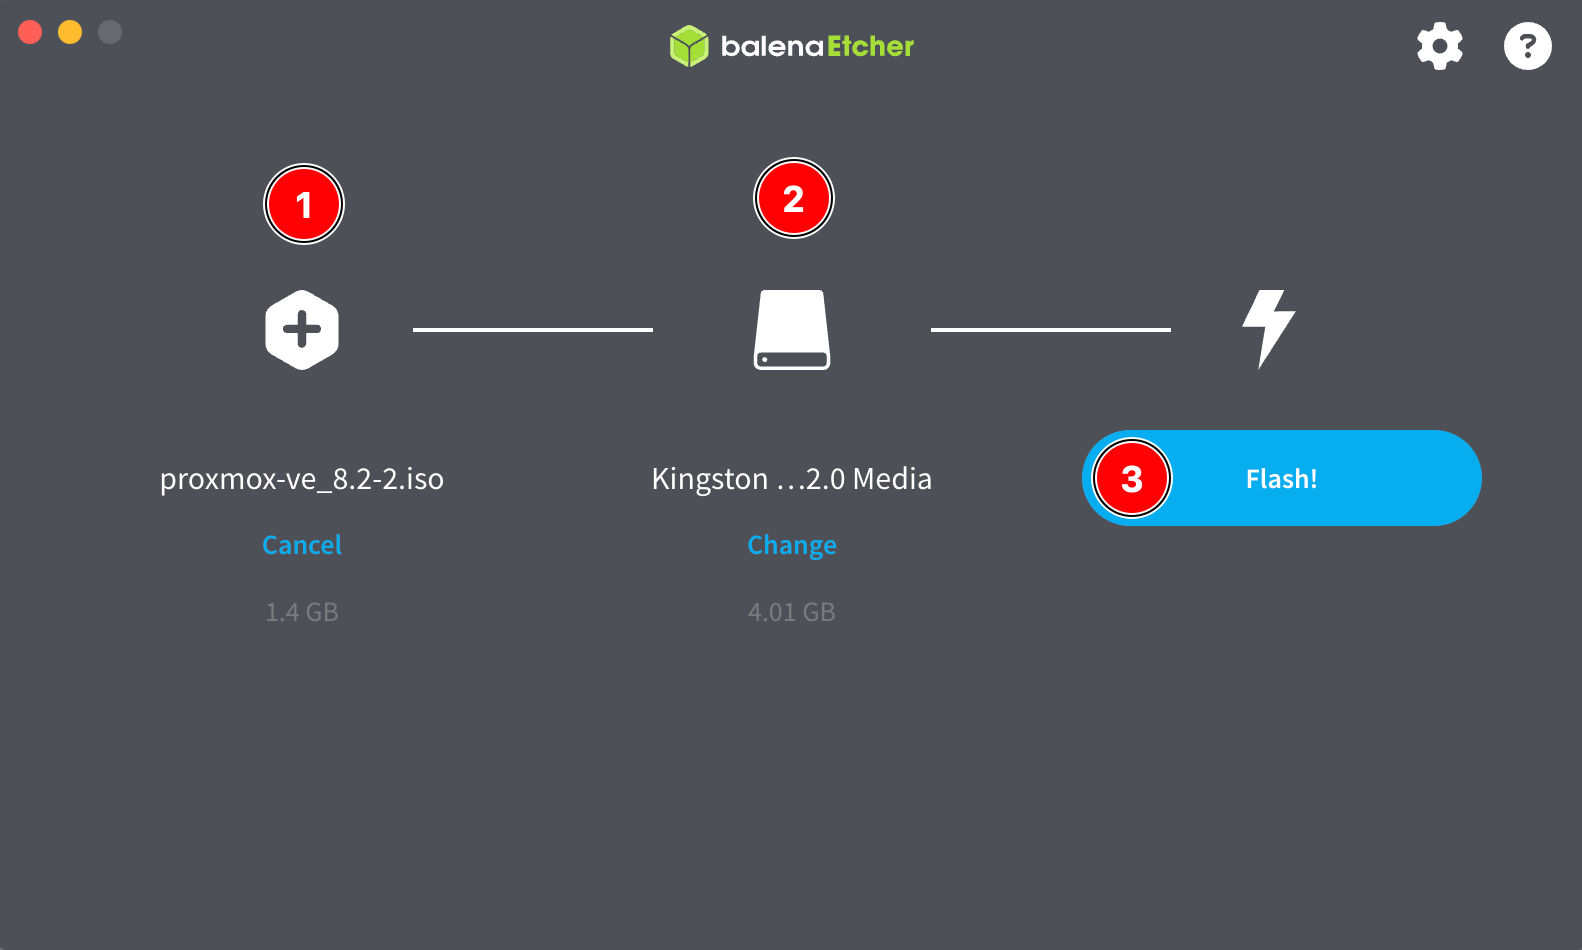
Once Balena is finished downloading and is installed on your system, plug in your flash drives. Run the app, select the Proxmox ISO first, then the flash drives you plugged in, then hit “Flash!”.
The installer will take 1-2 minutes to run. Once it is done you have a Proxmox installer drive ready to go.
Step 3 - Install on PC
Next we want to install Proxmox on our spare PC. Typically, this requires going into the BIOS settings on your PC and changing the boot order to allow flash drives to boot before the PC hard drive. Since this will be different for every computer, I will leave this for you to figure out. Remember Google Search and Youtube can be your friend.
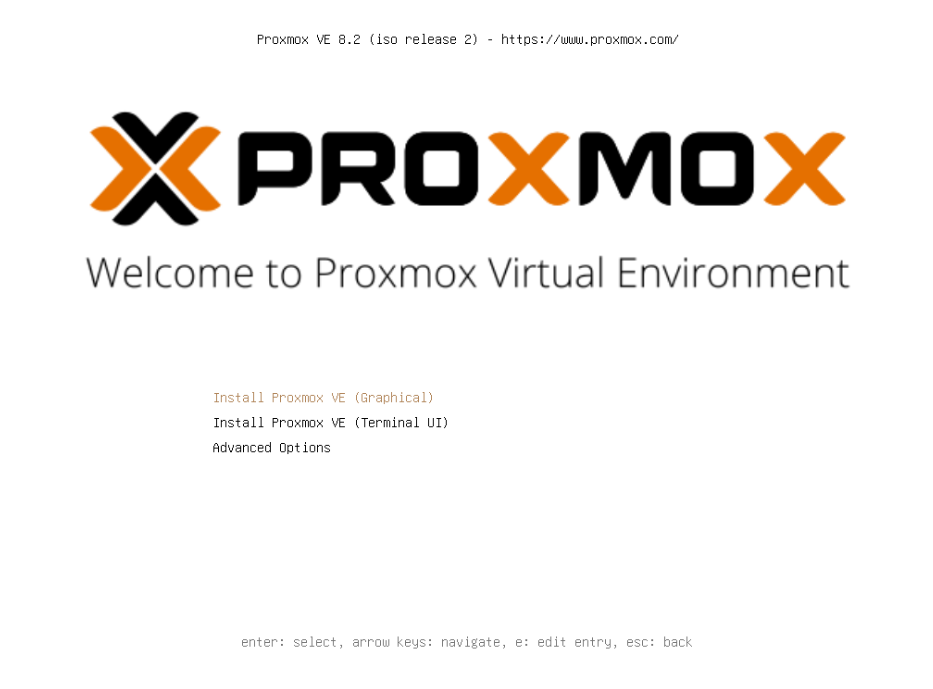
Once you have changed your boot order settings, it is time to plug in the flash drive and boot up the computer. You will arrive at the Proxmox install screen below:
We want to run the Graphical installer. If you feel like you have a good grasp on what is going on, feel free to use the Terminal UI installer. Follow the install wizard and choose the appropriate options for your system and network.
- Proxmox Virtual Environment (PVE)
- We will be first asked to select the hard disk to install Proxmox onto
- Location and Time Zone selection
- Next we need to provide the location information. I chose United States and America/New_York.
- Administration Password and Email Address
- Now we need to add a password. This is the password you will use to log into Proxmox.
- Enter a valid email address. This is the email the server will use to send alerts, should you configure it to do so.
- Management Network Configuration
- Management Interface: Ensure your PC is plugged in via Ethernet and the installer recognizes it.
- Hostname (FQDN): This is the hostname name of the proxmox machine.
- IP Address (CIDR): Put in the IP address you want for the machine. It is important to check that no other devices on the network use this IP address.
- Gateway: This will most likely be the IP address of your home router.
- DNS Server: This will most likely be the IP address of your home router.
- Summary
- Verify Selections
- Click Install
Now just sit back and wait a few minutes and wait for the installer to finish. The machine will reboot during the process. Once its back up you should see a URL to get to the management console and a prompt for login.
Step 4 - Connect to the Web Console
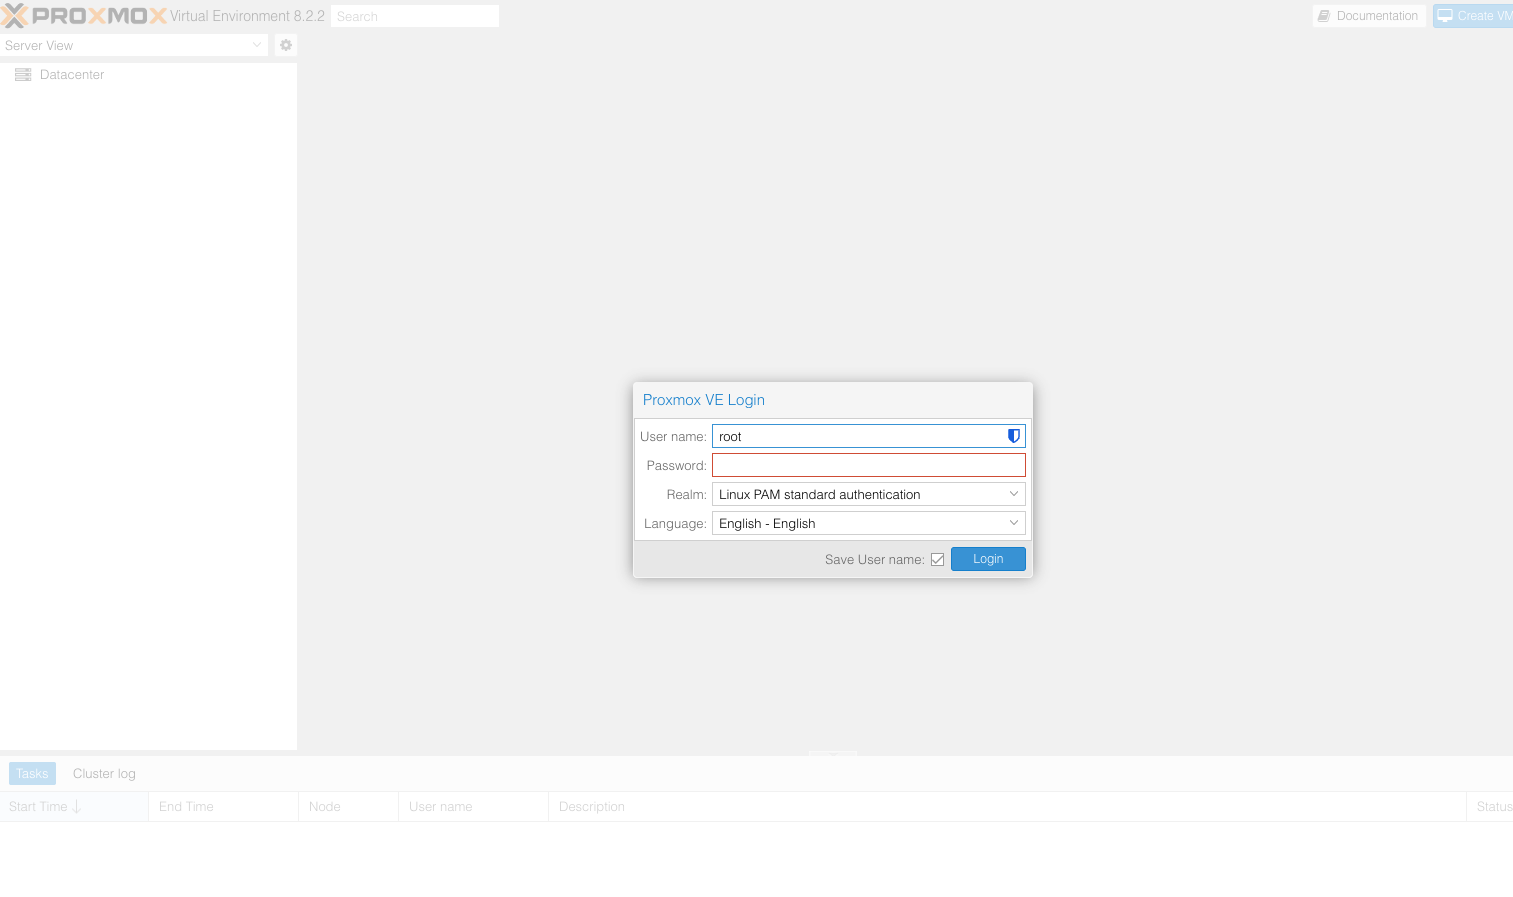
Now that Proxmox is up and running, we need to go to the web console it is advertising. Go to your browser on a different computer on the same network. Visit the URL showing on the Proxmox screen. This will take you to a page that should look like this.
Note: Your browser may consider the Proxmox URL as an untrusted site and refuse to load the page. You will need to click through this warning and tell your browser to load the page anyway. This process is slightly different for each browser.
The default administrator username is called root. We need to use this with the password created during setup to log in. We will then be prompted that you do not have a valid subscription. Do not worry about this, as it is just warning we do not have access to enterprise features, and just click OK.
We then are able to see the Proxmox console. It may be a good idea to bookmark this page for quick access later on. Now that we have Proxmox set up we can use it as a foundation to build upon our home lab. We can use Proxmox to install any virtual machine or container we may want or need.
